This Dr. Axe content is medically reviewed or fact checked to ensure factually accurate information.
With strict editorial sourcing guidelines, we only link to academic research institutions, reputable media sites and, when research is available, medically peer-reviewed studies. Note that the numbers in parentheses (1, 2, etc.) are clickable links to these studies.
The information in our articles is NOT intended to replace a one-on-one relationship with a qualified health care professional and is not intended as medical advice.
This article is based on scientific evidence, written by experts and fact checked by our trained editorial staff. Note that the numbers in parentheses (1, 2, etc.) are clickable links to medically peer-reviewed studies.
Our team includes licensed nutritionists and dietitians, certified health education specialists, as well as certified strength and conditioning specialists, personal trainers and corrective exercise specialists. Our team aims to be not only thorough with its research, but also objective and unbiased.
The information in our articles is NOT intended to replace a one-on-one relationship with a qualified health care professional and is not intended as medical advice.
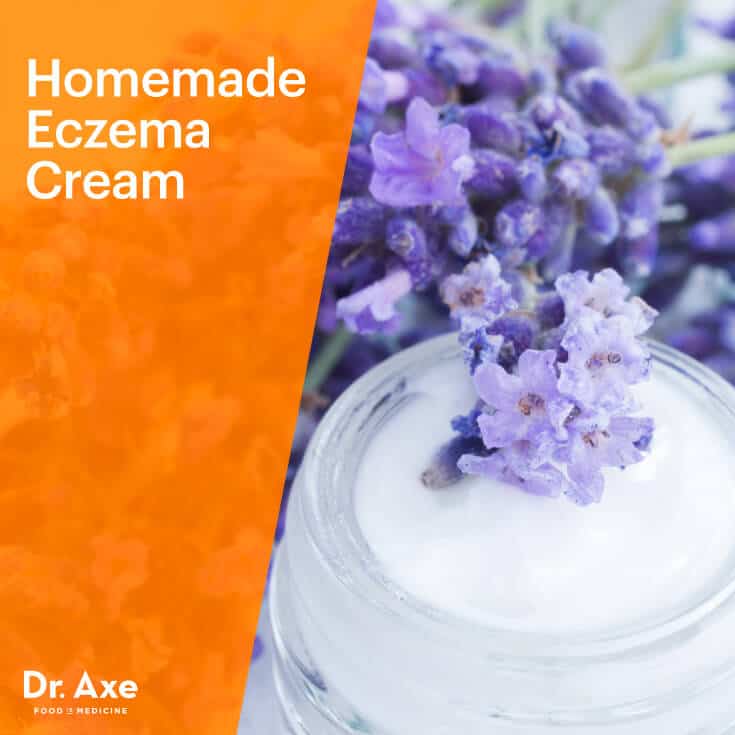
Make Your Own Eczema Cream
November 2, 2015
The word eczema itself just doesn’t sound good. It comes from a Greek word that means to effervesce, bubble or boil over. And for the 30 million (!), according to the Eczema Foundation, people who suffer from it, they know it doesn’t look or feel good, either. There’s got to be some effective home remedies for eczema rather than needing to resort to steroidal creams, though, right?
Fortunately, there are some easy steps to take to heal from eczema and remove the horrible itch it can cause. As my article states, it starts with diet and eating both omega-3 foods as well as anti-inflammatory foods to reduce symptoms. Similarly, reduce, eliminate or use grass-fed only dairy products.
Lifestyle-wise, reduce the frequency of baths since it can cause the skin to be very dry and itchy. Sleep in long pants to help avoid nighttime scratching. Avoid harsh soaps and detergents by making your own. And hey, get in the sun to detox your body. Direct sunlight on the skin can reduce eczema by increasing production of vitamin D, which improves immunity.
Last but not least, make up this homemade eczema cream to keep the skin moisturized with anti-eczema properties.
Homemade Eczema Cream
Up your defense against eczema with this cream. A key ingredient is lavender essential oil, which helps heal the red, dry skin associated with eczema. Another is raw shea butter, which is full of all-natural vitamin A, works as an anti-inflammatory and aids in numerous skin conditions.
Equipment:
- Wide-mouth mason jar or something similar with a lid for storage.
- Double boiler. Another option is to use a heat-safe container that you can place in a pan filled with some water, such as a jar.
- Mixer: hand-held or stand mixer.
How to Apply It:
Testing is always advised when using a new product on your skin, especially when using essential oils or products that may contain nuts. Once you have tested, if you want to continue use, simply apply once or twice a day over the affected area. Make sure to avoid eye contact and wash hands thoroughly after use.
Make Your Own Eczema Cream
Ingredients:
- ½ cup raw shea butter
- ½ cup coconut oil (optional: ¼ cup olive oil or almond oil)
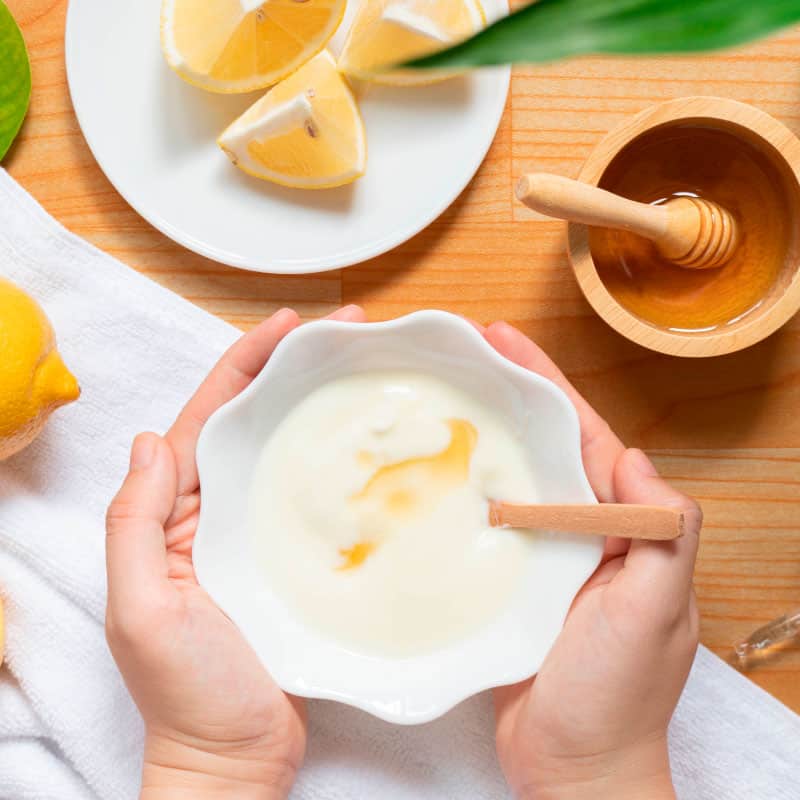
- 1 tablespoon local honey
- 30 drops of lavender essential oil
- 8 drops of tea tree essential oil
- optional additions: 5 drops of geranium essential oil and/or 5 drops of myrrh essential oil
Directions:
- Using a double boiler or something similar, melt the shea butter and coconut oil until they’re combined.
- Add the honey and continue to stir.
- Once everything has melted and is well blended, add the lavender and tea tree oils. Continue to blend.
- Slightly cool the ingredients so that it will begin to thicken, but keep it soft. You can put the solution in the refrigerator for a few minutes to speed up this process but not for long. You do not want it to harden too much.
- Using your mixer (either hand-held or a stand mixer), mix for several minutes until it has a frothy appearance, eventually developing the consistency of lotion. You can achieve this by continuing to mix about every 10 minutes.
- Transfer to the mason jar or other container.
- Store at room temperature or in the refrigerator. It will stay a bit softer at room temperature which may make it easier to apply.
Popular Beauty Posts