Vegan Coconut Cocoa Cheesecake Recipe
Cheesecake is delicious, creamy and full of dairy. As such, you might be surprised to learn that not only can you make a vegan cheesecake, but it can taste fantastic. That’s the case with my vegan coconut cocoa cheesecake.
This is the type of dessert you’ll want to serve company, especially those who’ve sworn off anything healthy and turn their noses up at any word that begins with “veg.” One bite of this will turn anyone into a real food convert.
Key Ingredients
The crust is filled with healthy fats thanks to the walnuts and cashews, while the filling is a creamy, mouthwatering mix of coconut milk, cocoa powder and maple syrup, with no refined sugars in sight.
Add in the coconut flakes and coconut oil, and you have all-natural, healthy fat and protein abundant in this recipe.
Of course, it’s topped off with sweetness that comes from natural sources as well, avoiding artificial sweeteners and excessive sugar. Along with the tasty maple syrup, Medjool dates are tasty and arguably the healthiest natural sweetener around, while vanilla makes for the perfect sweet blend.

You’ll want to plan ahead for this one: You’ll need to soak cashews and allow the cake to set in the freezer for two hours, but trust me, it’s worth it!
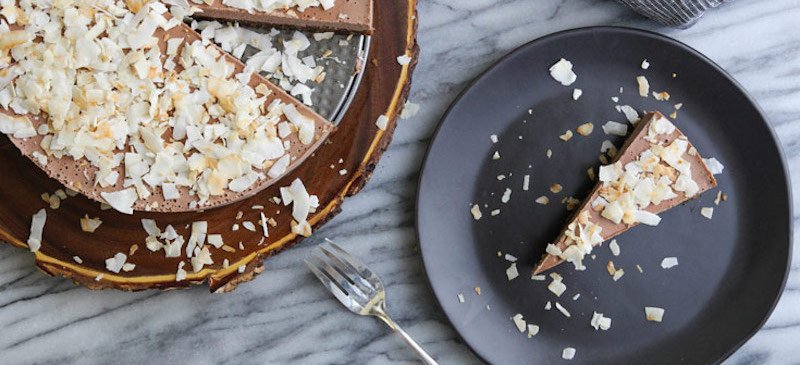
Get ready to cut yourself a slice (or two) of this vegan coconut cocoa cheesecake.
How to Make Vegan Coconut Cocoa Cheesecake
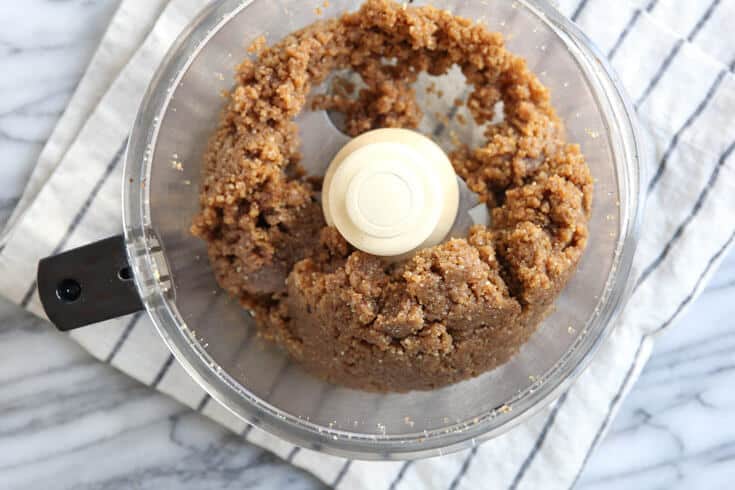
Pull out the food processor, and blend the walnuts, Medjool dates, vanilla and sea salt until the ingredients form a dough. Once that’s ready, spread the dough for this vegan coconut cocoa cheesecake in an un-greased, nine-inch springform pan, and stick it in the freezer for 20 minutes.
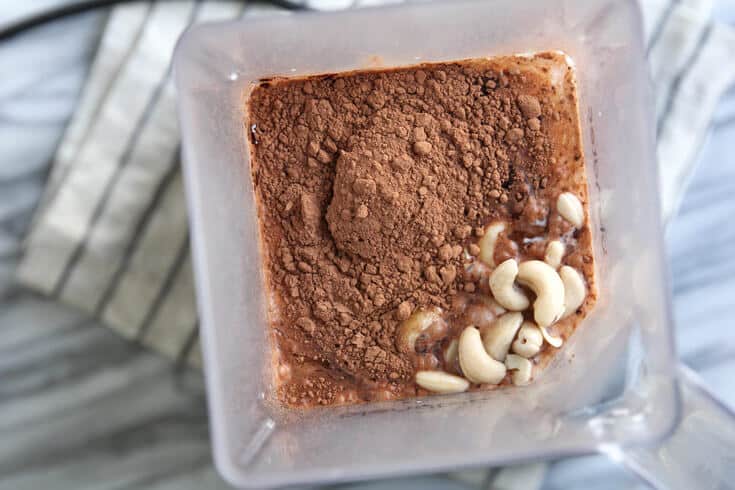
While the dough is chilling, let’s get the filling ready. Add all the ingredients to a blender, and blend on low speed until it’s all mixed up. Look at that lovely cocoa color.
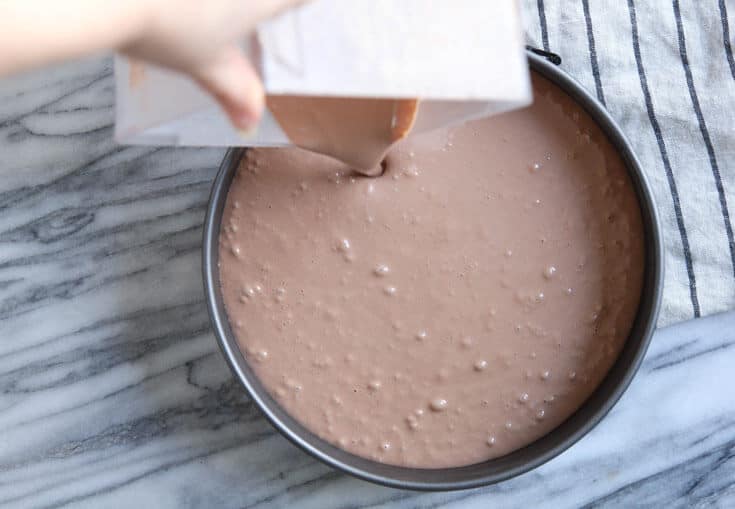
Next, remove the crust from the freezer. It’s time to pour the filling over it. Yum!
Then cover the pan, and put the entire cake back in the freezer. Let it hang out for at least the next two hours in there. On the bright side, there’s no baking required.
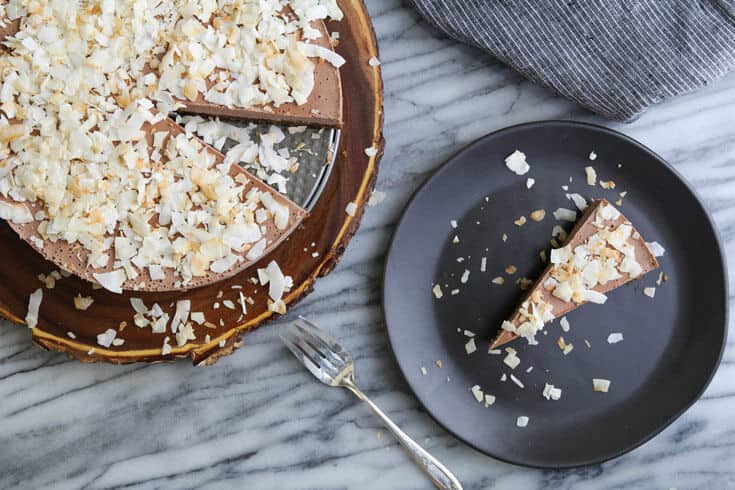
Once the cake has set in the freezer, let it thaw slightly in the refrigerator for 20 minutes or so. This vegan coconut cocoa cheesecake will be perfectly chilled and sliceable. Sprinkle the coconut flakes on before serving, and enjoy.
Going vegan doesn’t mean no more cheesecake, especially when it’s as good as this coconut cocoa cheesecake version.
Similar Recipes
Looking for some other healthy cheesecake recipes? Try these:
- Raw Vegan Lavender Mini Cheesecakes
- Pumpkin Pie Cheesecake Recipe
- Strawberry Lime Mojito Cheesecake Recipe
- Raw Cheesecake Bars Recipe
Vegan Coconut Cocoa Cheesecake Recipe
- Total Time: 3 hours 5 minutes
- Yield: 14 1x
- Diet: Gluten Free
Description
This vegan coconut cocoa cheesecake is one you’ll want to serve company. One bite will turn anyone into a real food convert.
Ingredients
CRUST
- 3 cups walnuts
- 2 cups Medjool dates, pitted
- 1 teaspoon vanilla
- dash of sea salt (about 1/6 teaspoon)
FILLING
- 1½ cups raw cashews, soaked and rinsed well*
- ⅓ cup maple syrup
- ½ teaspoon vanilla
- one 14-ounce can full-fat coconut milk
- ¼ cup lemon juice
- ⅓ cup dutch-processed cocoa powder
- ⅓ cup coconut oil, melted
- ½ teaspoon sea salt
- 1½ cup coconut flakes
Instructions
- In a food processor, blend together the walnuts, dates, vanilla and sea salt until dough is formed.
- Spread the dough evenly in the bottom of an ungreased, 9-inch springform pan.
- Place the pan in the freezer for 30 minutes.
- Place all of the filling ingredients into a blender and blend on low speed until well-blended.
- Remove the crust from the freezer.
- Pour the filling mixture on top of the crust, cover the pan and replace the cake in the freezer.
- Freeze for at least 2 hours.
- Defrost the cake in the refrigerator for 20 minutes before serving.
- Sprinkle coconut flakes on the top before serving.
- *Quick soaked cashews: To cut down on soaking time, add cashews to a pot and cover with water by 1/2 inch. Bring to a boil and boil for 2 minutes. Remove from the heat and allow the cashews to soak for 1 hour. Drain the cashews, rinse with cold water, and use.
- Prep Time: 3 hours, 5 minutes
- Category: Desserts
- Method: Blender
- Cuisine: American
Nutrition
- Serving Size: 88g
- Calories: 358
- Sugar: 12.4g
- Sodium: 116mg
- Fat: 30.6g
- Saturated Fat: 14.9g
- Unsaturated Fat: 15.7g
- Trans Fat: 0g
- Carbohydrates: 21g
- Fiber: 3.9g
- Protein: 5.9g
- Cholesterol: 0mg
Comments
Please keep comments under 200 characters.
Leave a Reply
18 Comments
Popular Recipes


May I ask if walnust could be soaked as well before grinding?
They could, yes, but may need to be dehydrated for a couple of hours after soaking then.
Can I get the carb and calories on it!
Hi Diana, there are 443 calories, 25 grams carbs and 21 grams net carbs.
What’s on your mind?can I add gelatine to stop it from melting over when it stays out of the freezer for long periods.
Great Idea for Passover dessert!
Looks amazing! Love that it’s vegan!
Do you have the Carb, Fat, Protein & Calorie & Sugar Content?
Thank you so much!
I’m interested as well.
It’s at the dnd of the recipe
OMG! these look so fantastic. Every photograph makes me want to eat them more. This is looking so much delicious. I don’t have all of those ingredients, but I’m going to the store!! Thanks again for the post.
Hello,
these recipes a original ,simple and nourishing .it makes life more easier for people who are not use preparing healthy meals, and we gain a lot of ideas on how to cook proper food..
thank you for all these
How long do I soak the cashews for??
Thank you sooo much for this!! I made it today, and it was absolutely delicious !!!! Great treat to make in the summer as well!!! It gets 5 stars from me!!!! *****
We can not use nuts in our home. Due to our son having a life threatening illness with nuts. Can this replaced with a seed and be the same?
Thank-you, look so yummy.
In such a case, I might just make it without a crust. I think it will still be very good!
It might be good without the crust but its still full of nuts….
I would recommend searching for a recipe that uses tofu rather than nuts, if there is a nut allergy in the family.
😋🙏