This Dr. Axe content is medically reviewed or fact checked to ensure factually accurate information.
With strict editorial sourcing guidelines, we only link to academic research institutions, reputable media sites and, when research is available, medically peer-reviewed studies. Note that the numbers in parentheses (1, 2, etc.) are clickable links to these studies.
The information in our articles is NOT intended to replace a one-on-one relationship with a qualified health care professional and is not intended as medical advice.
This article is based on scientific evidence, written by experts and fact checked by our trained editorial staff. Note that the numbers in parentheses (1, 2, etc.) are clickable links to medically peer-reviewed studies.
Our team includes licensed nutritionists and dietitians, certified health education specialists, as well as certified strength and conditioning specialists, personal trainers and corrective exercise specialists. Our team aims to be not only thorough with its research, but also objective and unbiased.
The information in our articles is NOT intended to replace a one-on-one relationship with a qualified health care professional and is not intended as medical advice.
DIY Stretch Mark Cream
September 16, 2022
Stretch marks can be both frustrating and embarrassing given their scarred appearance — and can develop on both men and women. They are typically found on the thighs, hips, abdomen, breasts, lower back and upper arms.
Stretch marks form in the dermis of the skin, which is the thick layer of living tissue below the epidermis. When the dermis gets stretched for long periods of time, it can break down causing stretch marks — which can look like severe scarring — to develop.
Because the skin doesn’t return to its original state due to being stretched for an extended period of time, stretch marks most commonly appear after pregnancy, weight gain or weight loss. Stretch marks can begin with a purplish coloration eventually becoming glossy and developing a streaked look.
What can you do to prevent or reduce the appearance of stretch marks? While there are surgical methods that are often used, I instead recommend trying natural options right at home, including making your own stretch mark cream.
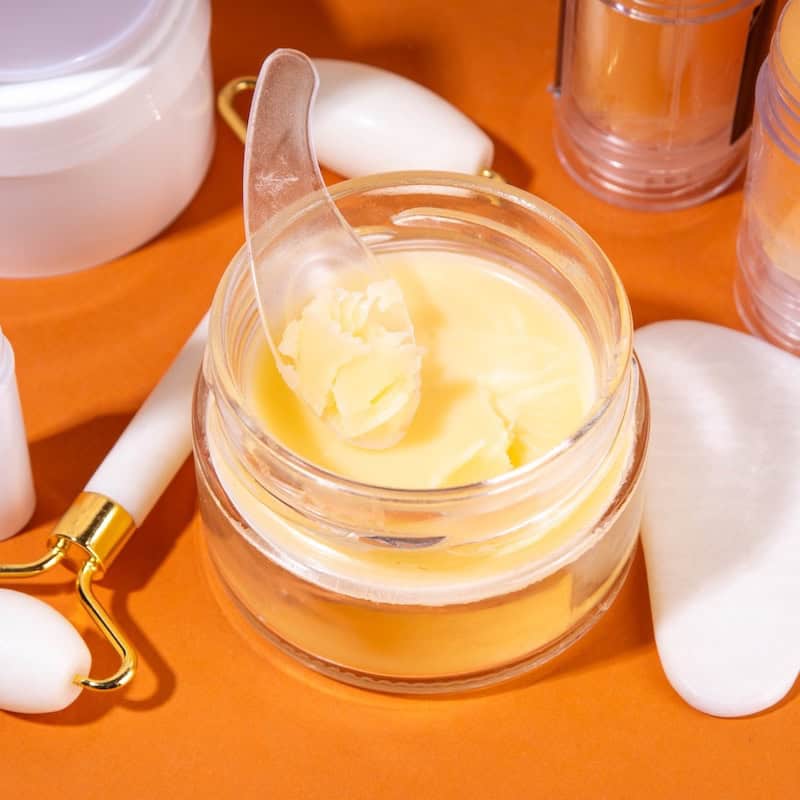
This DIY stretch mark cream provides incredible moisturizing and can even be used it as a hand cream. It’s composed of several beneficial ingredients, led by coconut oil for the skin. Coconut oil is able to penetrate your skin on a deeper level than your average product because of its low molecular weight and the way it bonds with proteins.

The second key ingredient is shea butter, which can help tissue cell regeneration and softening of the skin. A study published in the Journal of Oleo Science reports that it can also help to reduce skin inflammation.
Also, this homemade stretch mark cream taps into the power of essential oils, such as lavender oil that acts as both an antimicrobial and antioxidant for the skin. Make sure to check with your physician before using any new ingredients if you are pregnant.
Print
Homemade Stretch Mark Cream
- Total Time: 10 minutes
- Yield: 30 applications 1x
Description
This DIY stretch mark cream provides incredible moisturizing and can even be used it as a hand cream. It’s composed of several beneficial ingredients, led by coconut oil for the skin.
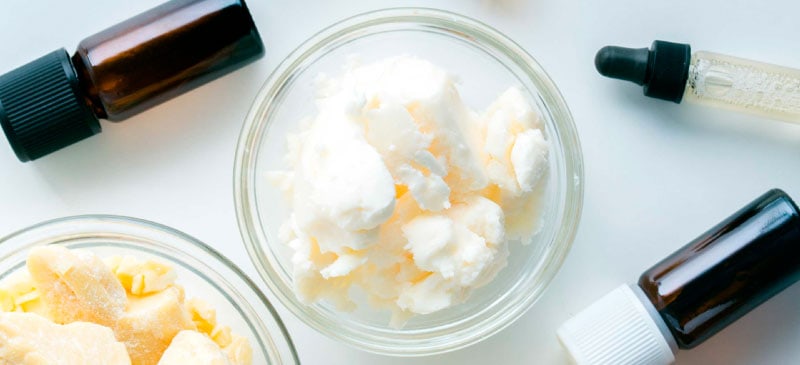
Ingredients
- 3 ounces unrefined coconut oil
- ¾ ounce unrefined cocoa butter
- ¾ ounce unrefined shea butter
- 3 tablespoons sweet almond oil
- 6 tablespoons water
- 2 teaspoons vitamin E oil
- 20 drops lavender essential oil
- 10 drops grapefruit essential oil
Instructions
- Using a small sauce pan, melt the coconut oil, cocoa butter, shea butter and almond oil on very low heat.
- Once oils are completely melted, mix in the water until oils and water are combined and smooth.
- Remove from heat and continue to mix oil and water until mixture cools to room temperature developing a creamy consistency.
- When the mixture is room temperature stir in the vitamin E oil, lavender and grapefruit essential oils.
- Store cream in a dark glass container at room temperature. If you use a clear glass container, store in a dark place. Use within two months.
- Prep Time: 10 min
- Method: Stovetop
Popular Beauty Posts