This Dr. Axe content is medically reviewed or fact checked to ensure factually accurate information.
With strict editorial sourcing guidelines, we only link to academic research institutions, reputable media sites and, when research is available, medically peer-reviewed studies. Note that the numbers in parentheses (1, 2, etc.) are clickable links to these studies.
The information in our articles is NOT intended to replace a one-on-one relationship with a qualified health care professional and is not intended as medical advice.
This article is based on scientific evidence, written by experts and fact checked by our trained editorial staff. Note that the numbers in parentheses (1, 2, etc.) are clickable links to medically peer-reviewed studies.
Our team includes licensed nutritionists and dietitians, certified health education specialists, as well as certified strength and conditioning specialists, personal trainers and corrective exercise specialists. Our team aims to be not only thorough with its research, but also objective and unbiased.
The information in our articles is NOT intended to replace a one-on-one relationship with a qualified health care professional and is not intended as medical advice.
DIY Cuticle Cream with Lavender & Myrrh
February 1, 2022
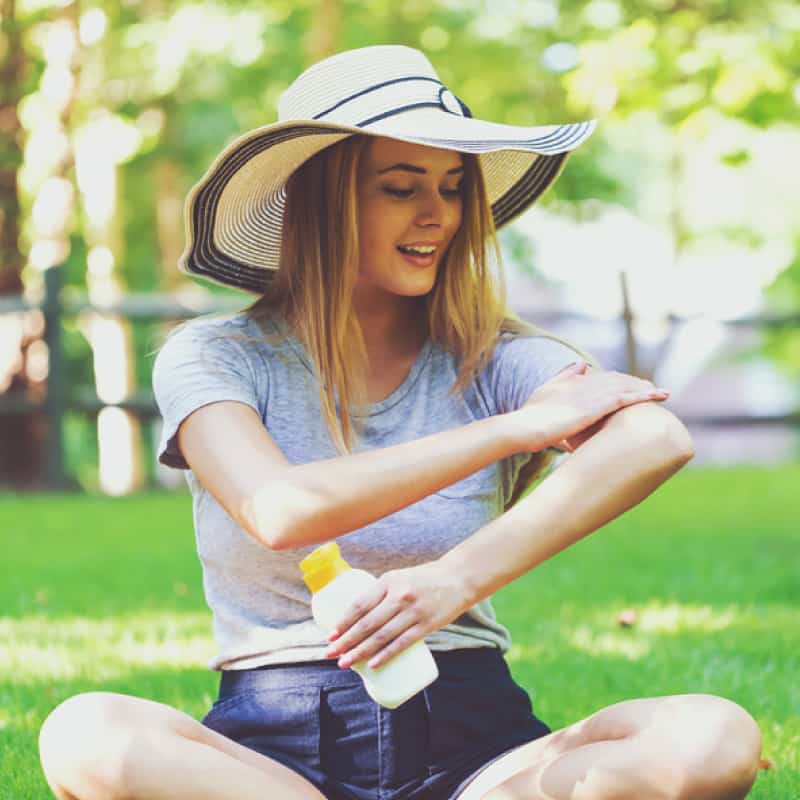
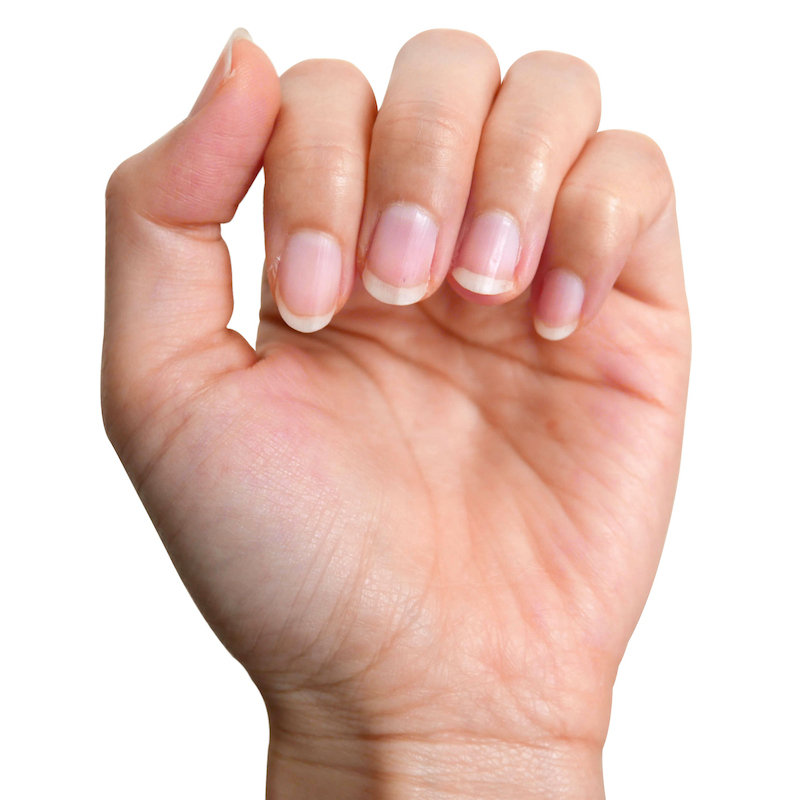
Getting a manicure is a great way to keep your fingernails in shape, but have you thought about your cuticles and why they are important? Cuticles keep dirt and bacteria out of the body. If the cuticle does not exist or has been cut away, it leaves the body vulnerable to infection and nail fungus because dirt and bacteria can get underneath the skin in that area. So the cuticle actually protects you!
What is the best way to care for your cuticles? The right combination of vitamins and minerals, in a cuticle cream or cuticle butter, provides nutrients to the cuticle. Cutting the cuticles will only lead to problems such as ridges and white spots on the nails, in addition to a possible entryway for bacteria.
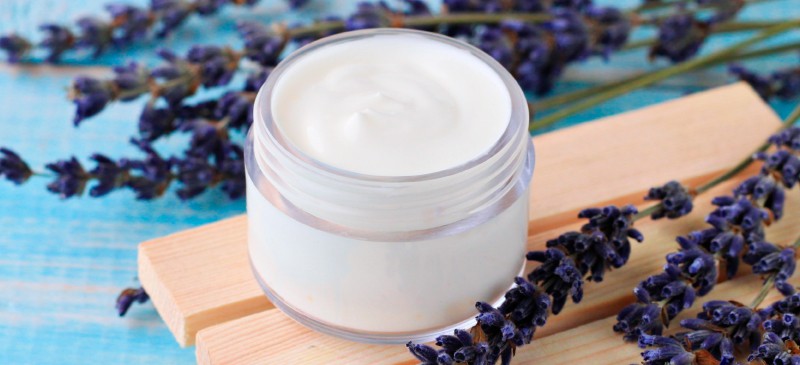
The cuticles are intended to protect while being soft. By using essential oils combined with a few other amazing ingredients, you can make your own DIY cuticle butter that moisturizes and softens the cuticles, literally at your fingertips! And this combined with my DIY moisturizer for dry skin can offer amazing results for soft, attractive hands.
How to Make Cuticle Cream
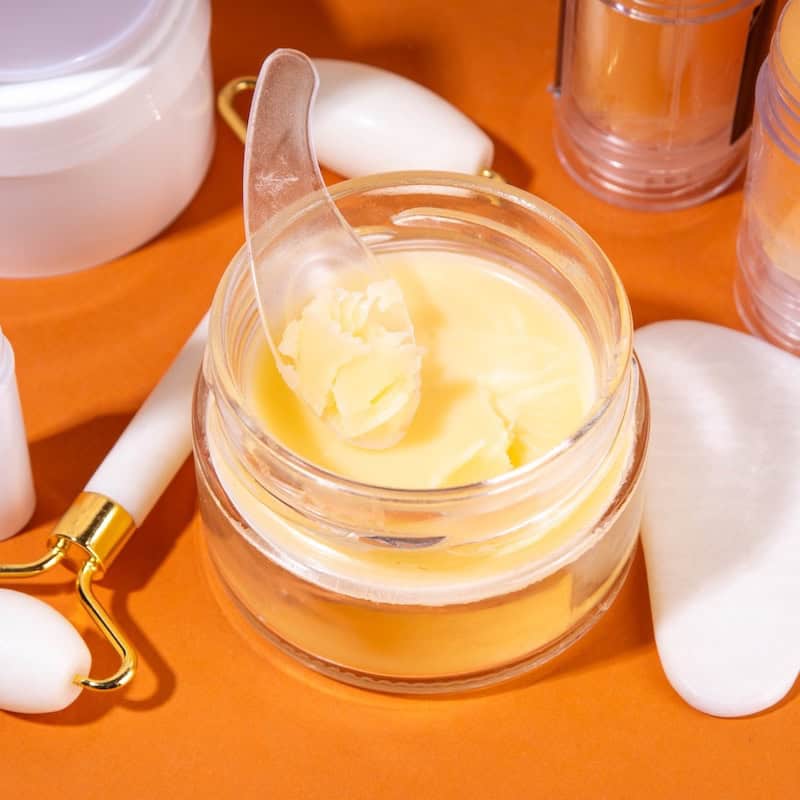
To make your own cuticle cream, start by filling about one-third of a small saucepan with water. Bring the water to a boil. Now, combine the shea butter, beeswax and coconut oil into a mason jar or heat safe glass container, and place it in the pan.
As these ingredients melt, blend them together with a spoon or whisk. Shea butter is a favorite of mine because it is loaded with stearic and oleic acids as well as vitamin E and vitamin A. It boosts collagen, too, which is a major benefit to the skin and its youthful appearance.

Beeswax falls right in line with shea butter, adding amazing moisturizing benefits because it’s also rich in vitamin A. As an emollient, it softens and hydrates the skin while maintaining healthy cellular structure. And, of course, coconut oil adds benefits to this easy-to-make cuticle saver by offering antibacterial and moisturizing properties. It also contains lots of antioxidants.
Now, remove from heat and allow it to cool. Add the vitamin E, lavender, lemon and myrrh essential oils. We know vitamin E is great for the health of your skin. Even though vitamin E is found in the shea butter and beeswax, adding a little more can provide some added benefits. Vitamin E helps strengthen the cuticles. Plus, it adds moisture and elasticity, which is helpful for keeping them soft. Additionally, it is a natural anti-aging nutrient that reduces inflammation. What’s better is when you combine vitamin E with vitamin C found in lemon essential oil, it gains the ability to fight even more inflammation.
Lavender essential oil is not only relaxing, but it is also a very healing ingredient for the skin due to its antimicrobial and antioxidant characteristics. And myrrh is favored among essential oils for healthy skin and cuticles because it is great at preventing fungal infection. Tea tree essential oil is another great option to prevent and/or heal nail fungus.
Once you have blended all of the ingredients well, transfer to a small container or jar and let the mixture solidify … into a butter or dense cream.
To use, make sure to wash your hands well before dipping into the container. Or, use a wooden stick, spoon or knife to scoop out the cream so that you do not contaminate it with bacteria since we do not add preservatives.
Place in the palm on your hand to use your natural body heat to begin softening the cuticle balm. Using your finger, massage a small amount onto and around the cuticle area. Allow it to sit for 10–15 minutes. Or simply massage it in, using it as a moisturizer for the entire hand.
You can apply the cuticle cream daily. This recipe will last several months, so you can store it in your bathroom cabinet.
Print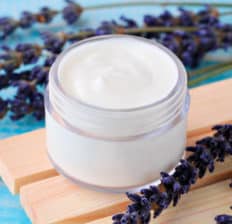
DIY Cuticle Cream Recipe
- Total Time: 5 minutes
- Yield: 40 uses 1x
Description
By using essential oils combined with a few other amazing ingredients, you can make your own DIY cuticle butter that moisturizes and softens the cuticles.
Ingredients
- 1 tablespoon organic beeswax
- 1 ½ tablespoons organic raw shea butter
- ½ teaspoon organic coconut oil
- 3 drops vitamin E oil
- 3 drops lemon essential oil
- 8 drops lavender essential oil
- 3 drops of myrrh essential oil
- 3 drops tea tree essential oil (optional)
Instructions
- Fill about one-third of a small saucepan with water. Bring the water to a boil.
- Combine the shea butter, beeswax and coconut oil into a mason jar or heat-safe glass container. Place the jar in the pan.
- Blend ingredients together with a spoon.
- Remove from heat and allow to cool.
- Add the vitamin E, lavender, lemon and myrrh essential oils. Mix well.
- Transfer to a small container or jar and let it cool to room temperature.
Notes
To use, use a small wooden stick or a spoon and place a small amount on your palm to help soften the balm. Take a finger and massage a small amount of the cream onto and around the cuticle area. Allow it to sit for 10–15 minutes.
- Prep Time: 5 min
Popular Beauty Posts